

Howdy, Stranger!
It looks like you're new here. If you want to get involved, click one of these buttons!
Categories
- 248.2K All Categories
- 22 >> Start Here <<
- 12 New Members
- 8 FAQs
- 88.9K Gear
- 40.5K Guitar
- 3.5K Acoustics
- 1.3K Bass
- 15.1K Amps
- 17.6K FX
- 359 Digital & Modelling
- 785 Other Instruments
- 8.5K Making & Modding
- 432 Gear Reviews
- 108 Guitar Reviews
- 74 Amp Reviews
- 119 FX Reviews
- 90 Other Reviews
- 756 Made in the UK
- 988 Theory
- 1.9K Technique
- 2.2K Live
- 3.2K Studio & Recording
- 2.2K Making Music
- 232 Events
- 15 Guitar Show 2018
- 867 Plug My Stuff
- 108.2K Classifieds
- 42.3K Guitars £
- 2.9K Acoustics £
- 146 LH Guitars £
- 925 Basses £
- 11K Parts £
- 18.8K Amps £
- 35K FX £
- 2.9K Studio & Rec £
- 6.3K Misc £
- 472 Personnel
- 56.2K Chat
- 37.5K Off Topic
- 1.2K Tributes
- 6.8K Music
In this Discussion
Become a Subscriber!
Subscribe to our Patreon, and get image uploads with no ads on the site!
My First Bass build - Short scale (30") and a bit of experimentation with the fretboard... Finished.
 JGTay
Frets: 210
JGTay
Frets: 210
Whilst waiting on the funds/parts for Dan's guitar, I am getting on with a project for myself.
I have been wanting to add a bass to my collection of guitars for a some time, so I did a bit of research and decided on doing a short scale (30") Jazz Bass. May need some help along the way with pickup placement and wiring details, will see how I go.
The first part of the experimentation with the fretboard -
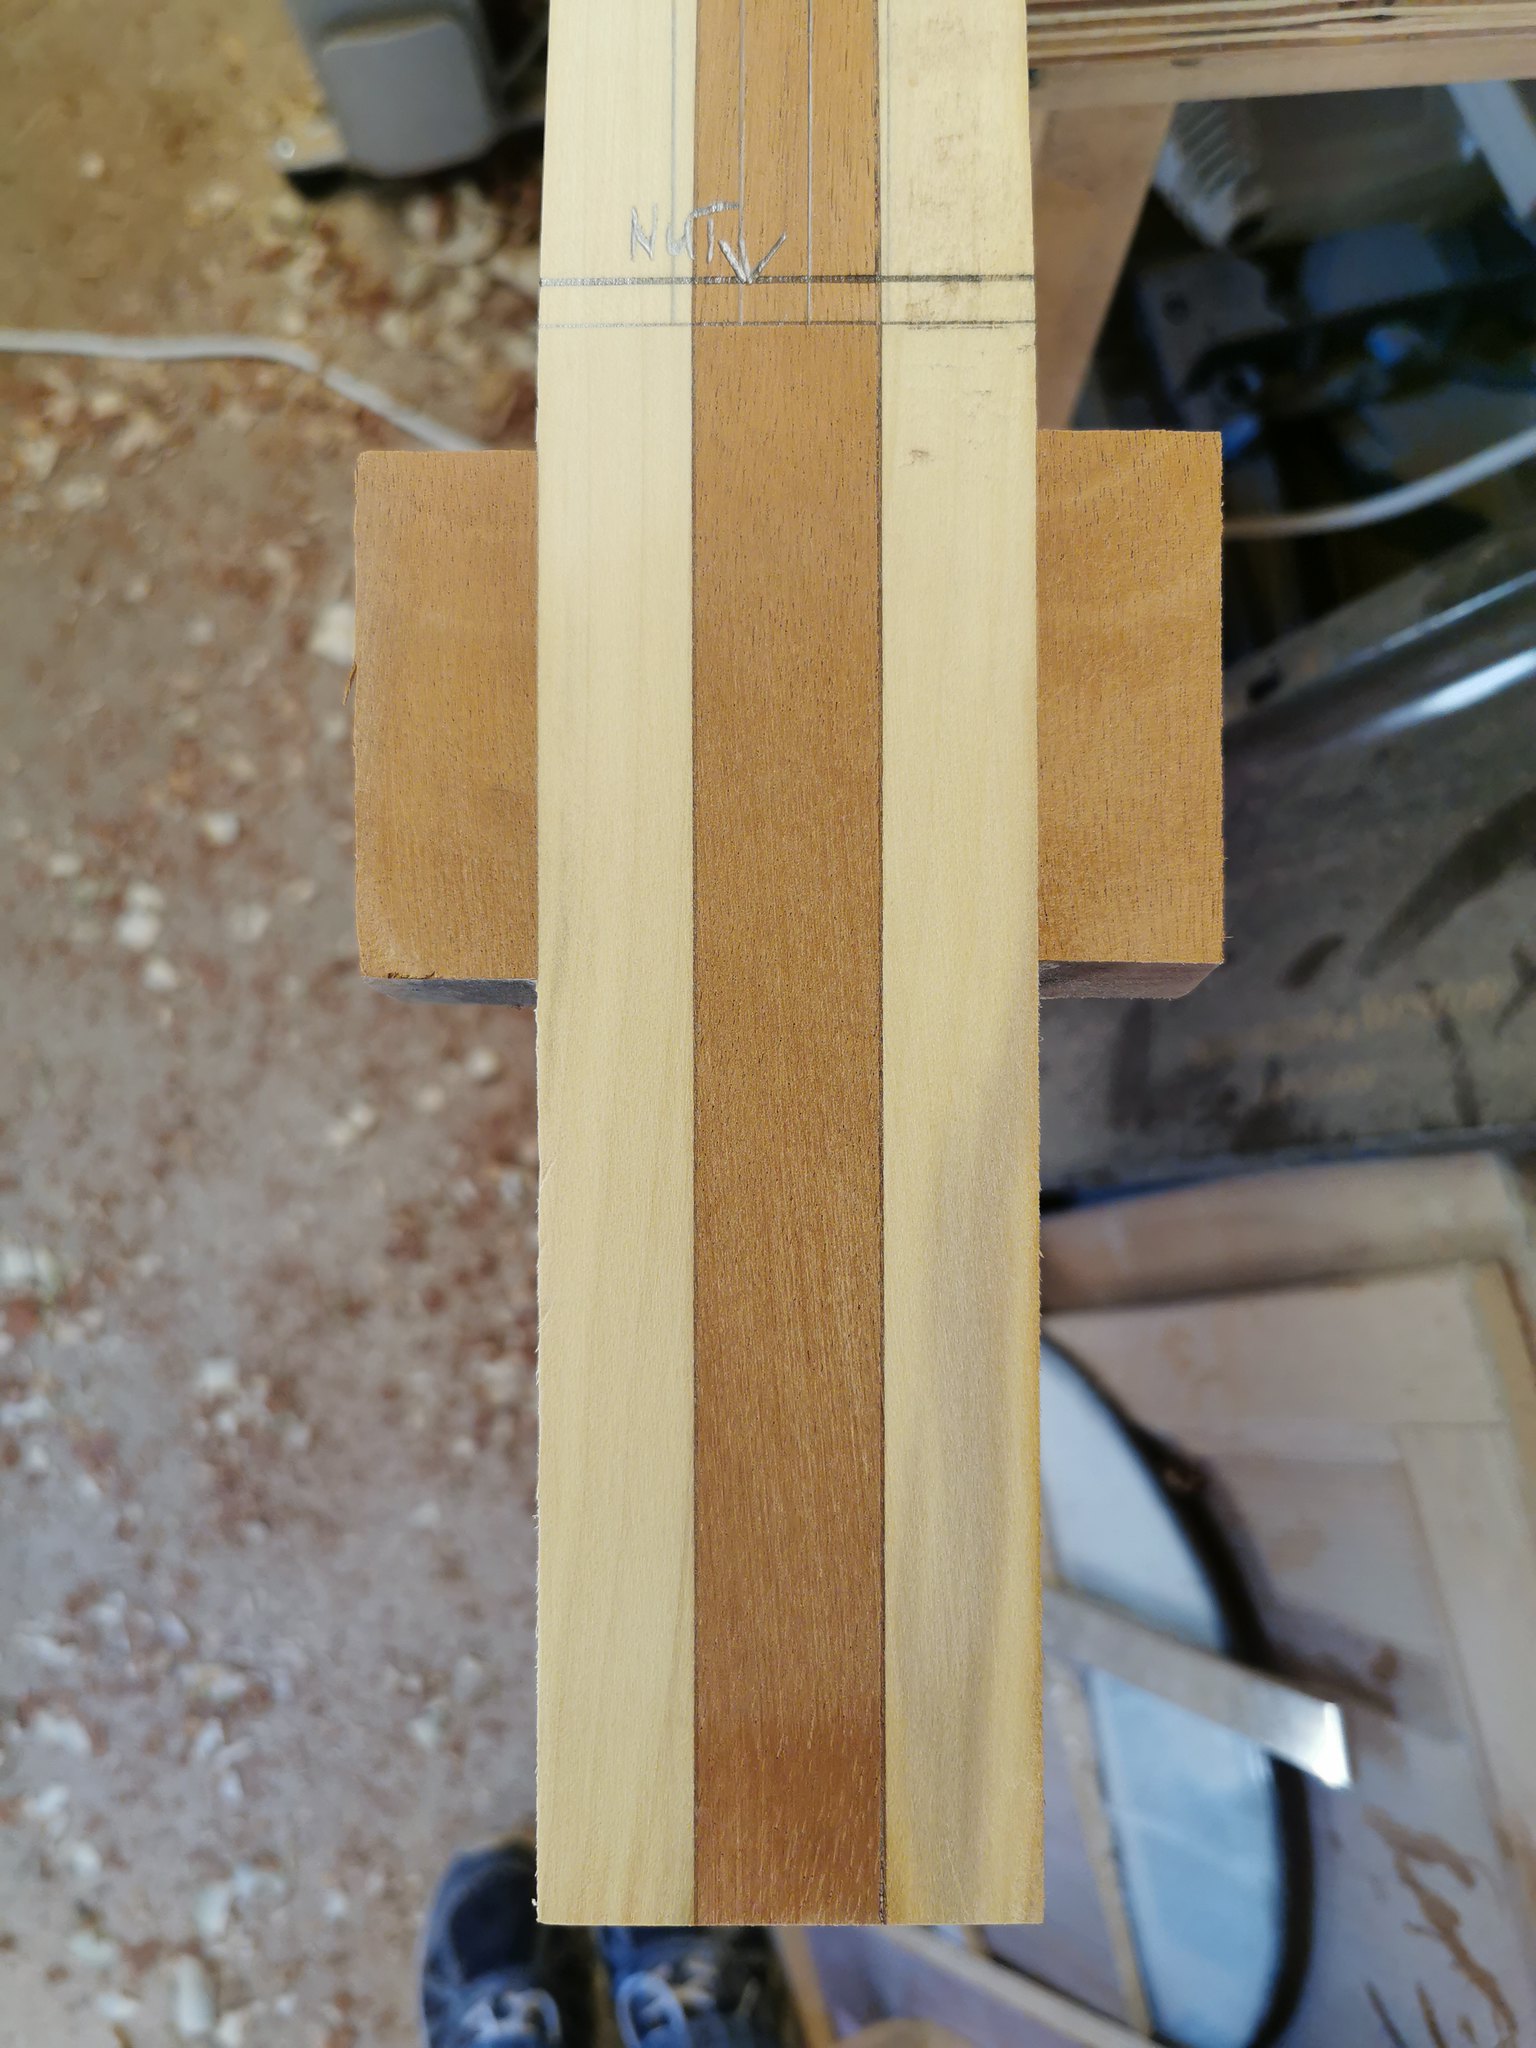
Going with a dual wood, Panga Panga with oak and using some leftover dust from sanding Dan's fretboard as a dark fill line.
Got started on the fretboard, made an oak fretboard to the same thickness as the Panga Panga offcuts I had from a previous build, then cut a piece of the Panga Panga to shape, followed the cut on the oak and then glued it in place (didn't think beforehand how much of a ball-ache this would be). once it was dry I then marked out for the next piece following the same shape.
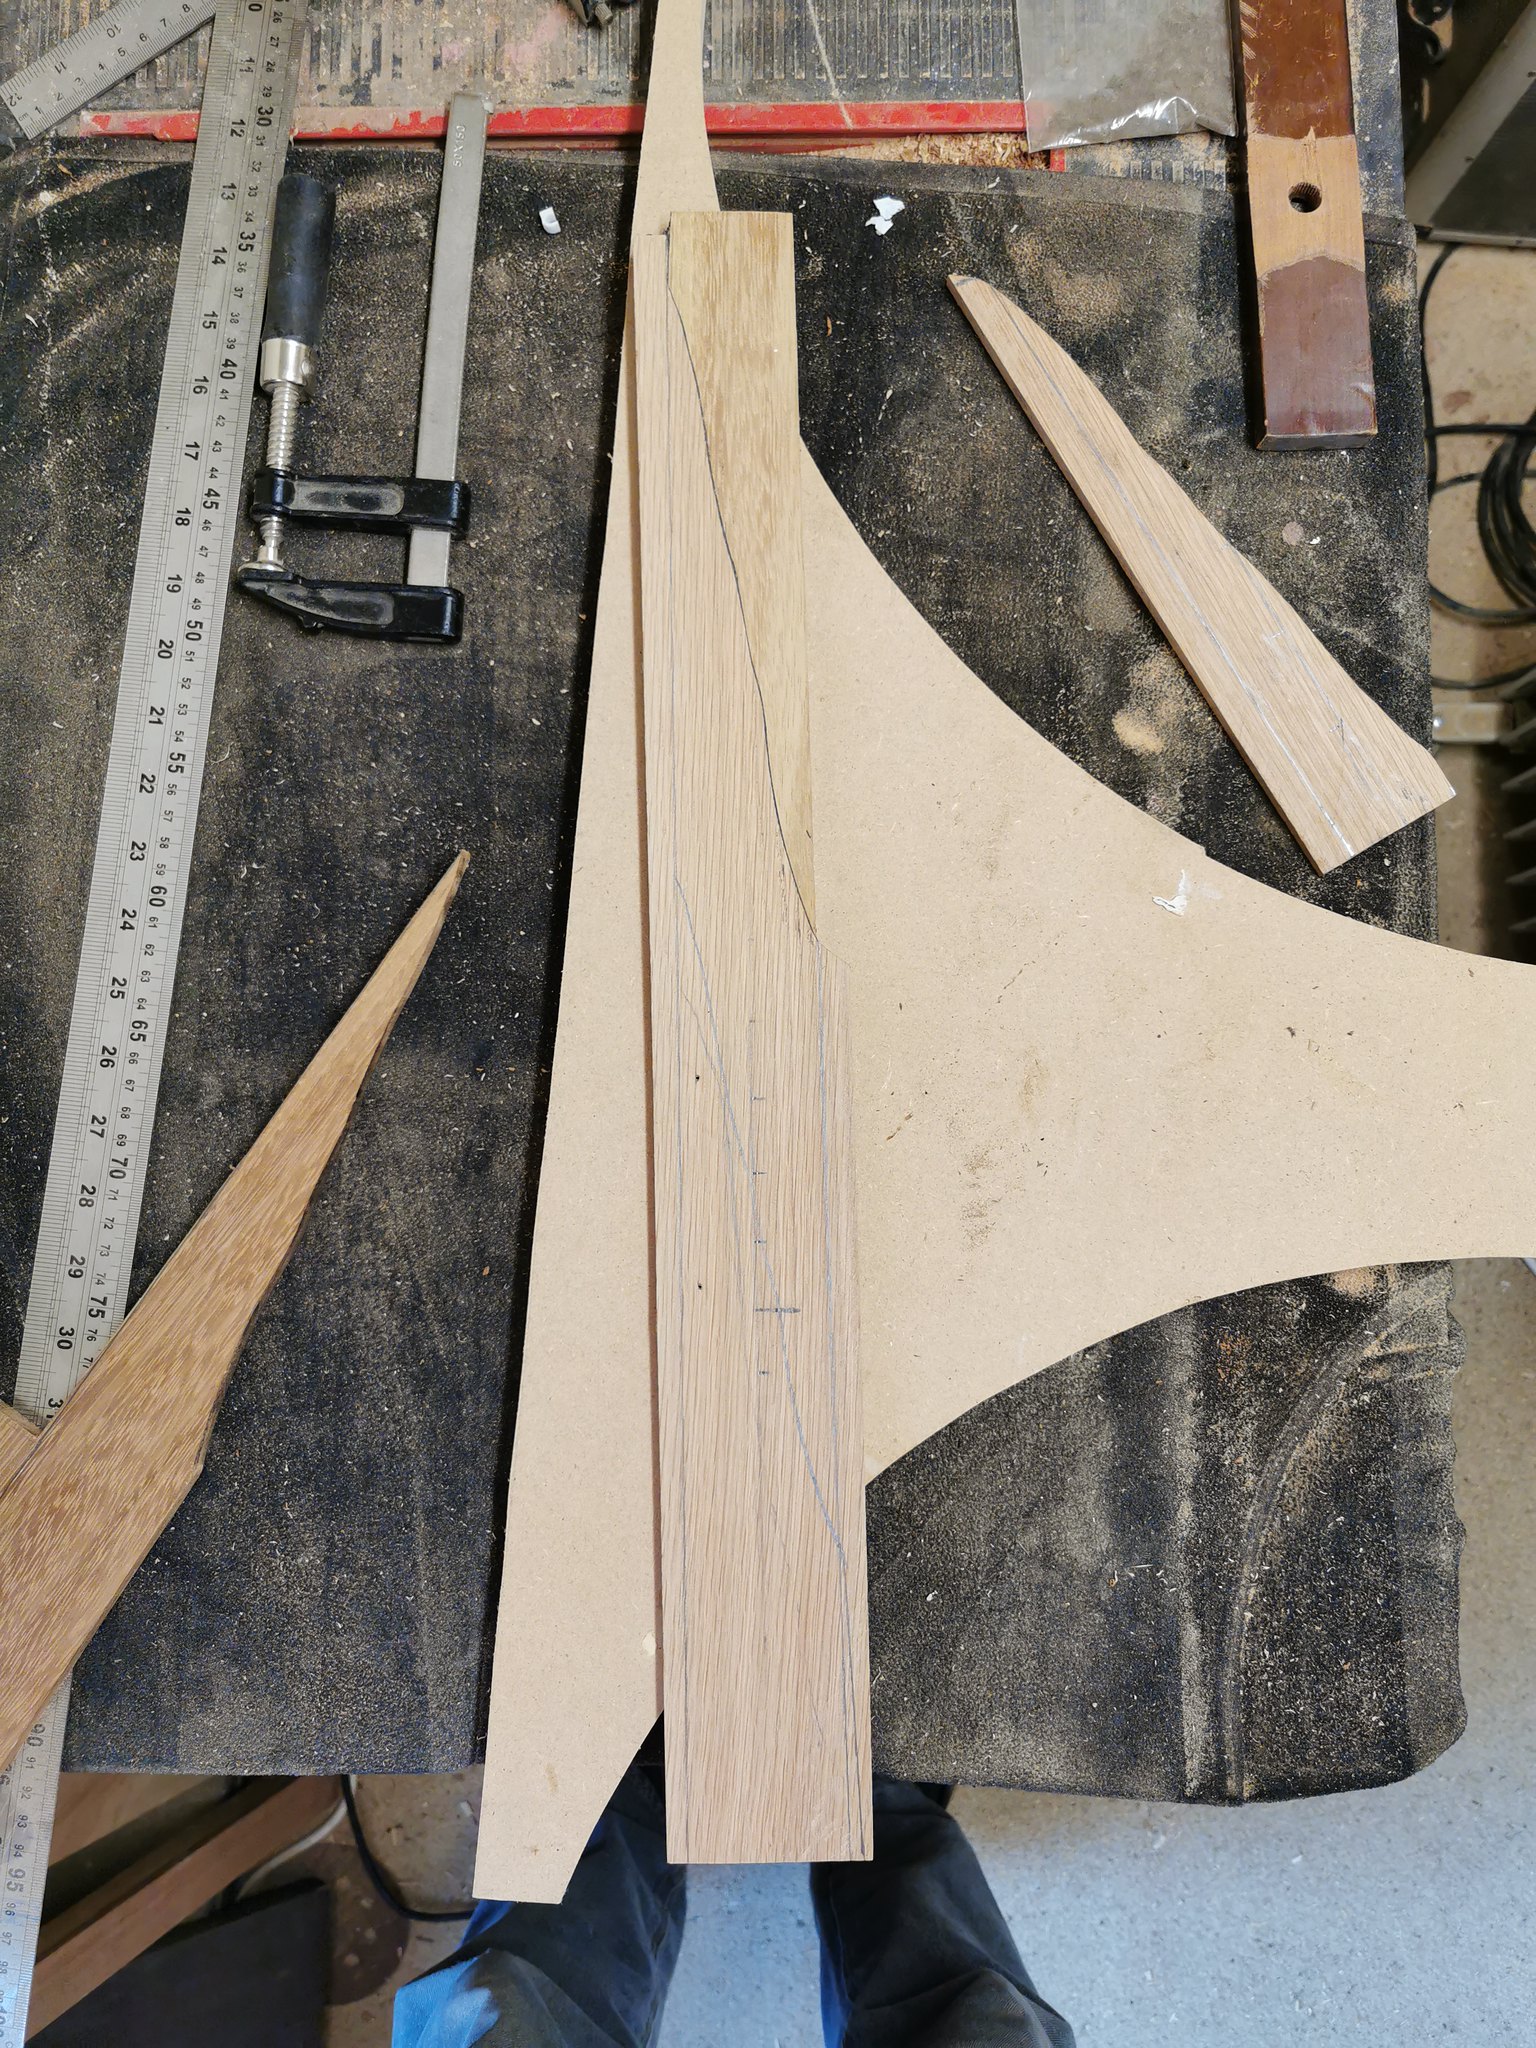
Cut and glued in place (again cursing myself for such a stupid idea, clamping two 9mm boards together like this is a pain!!)
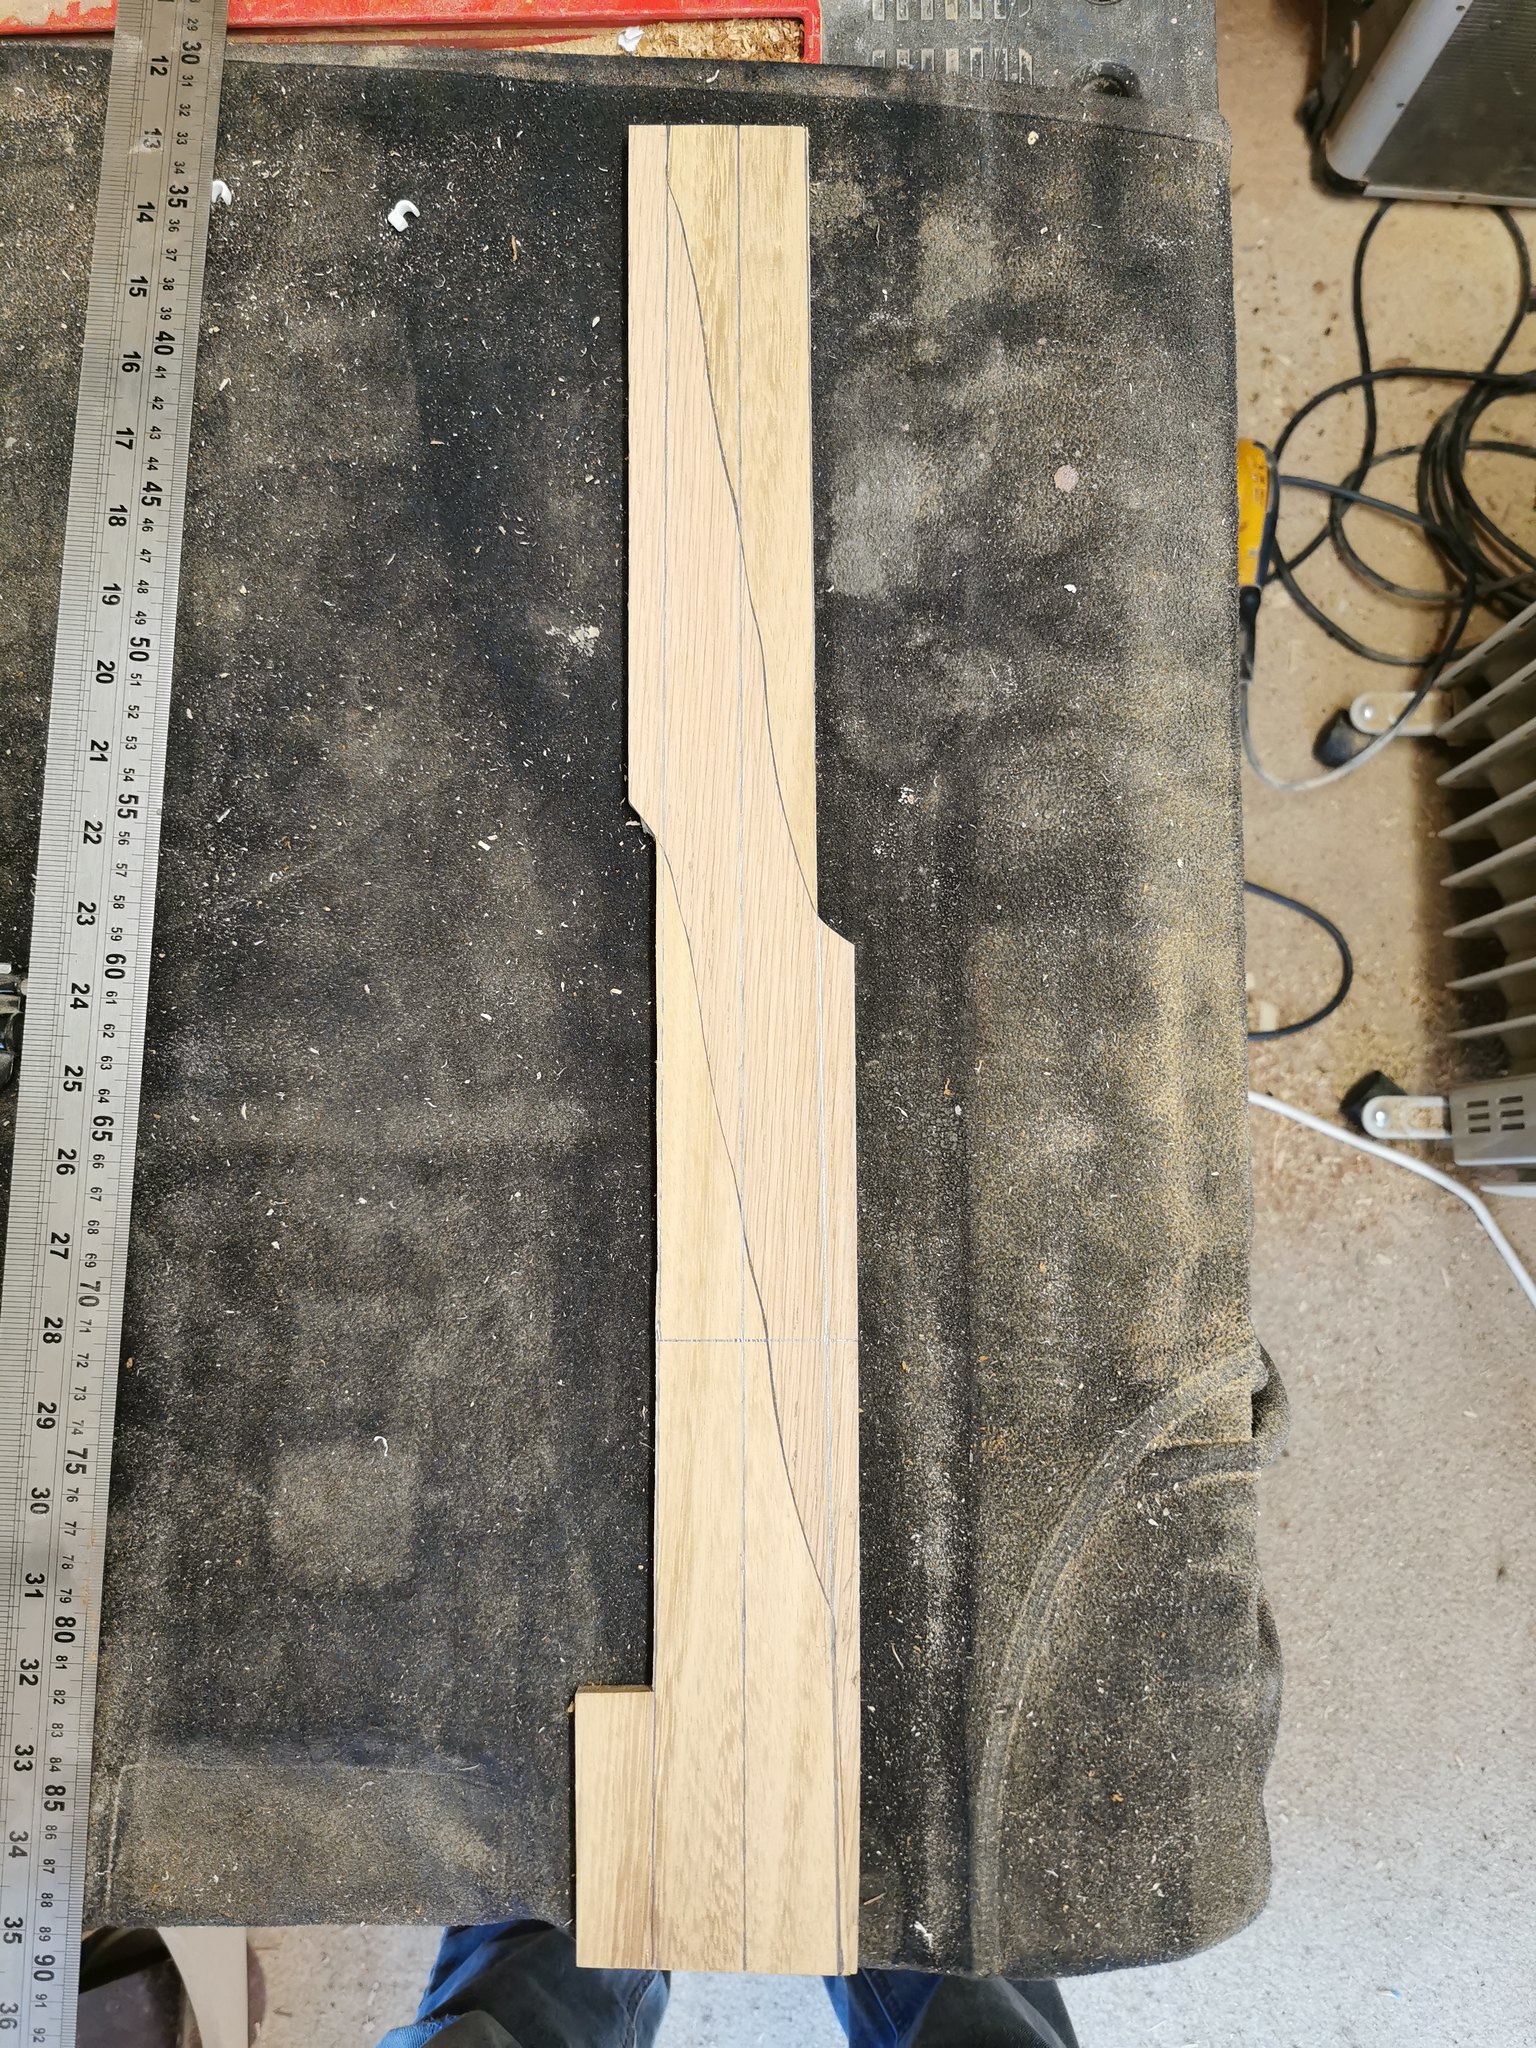
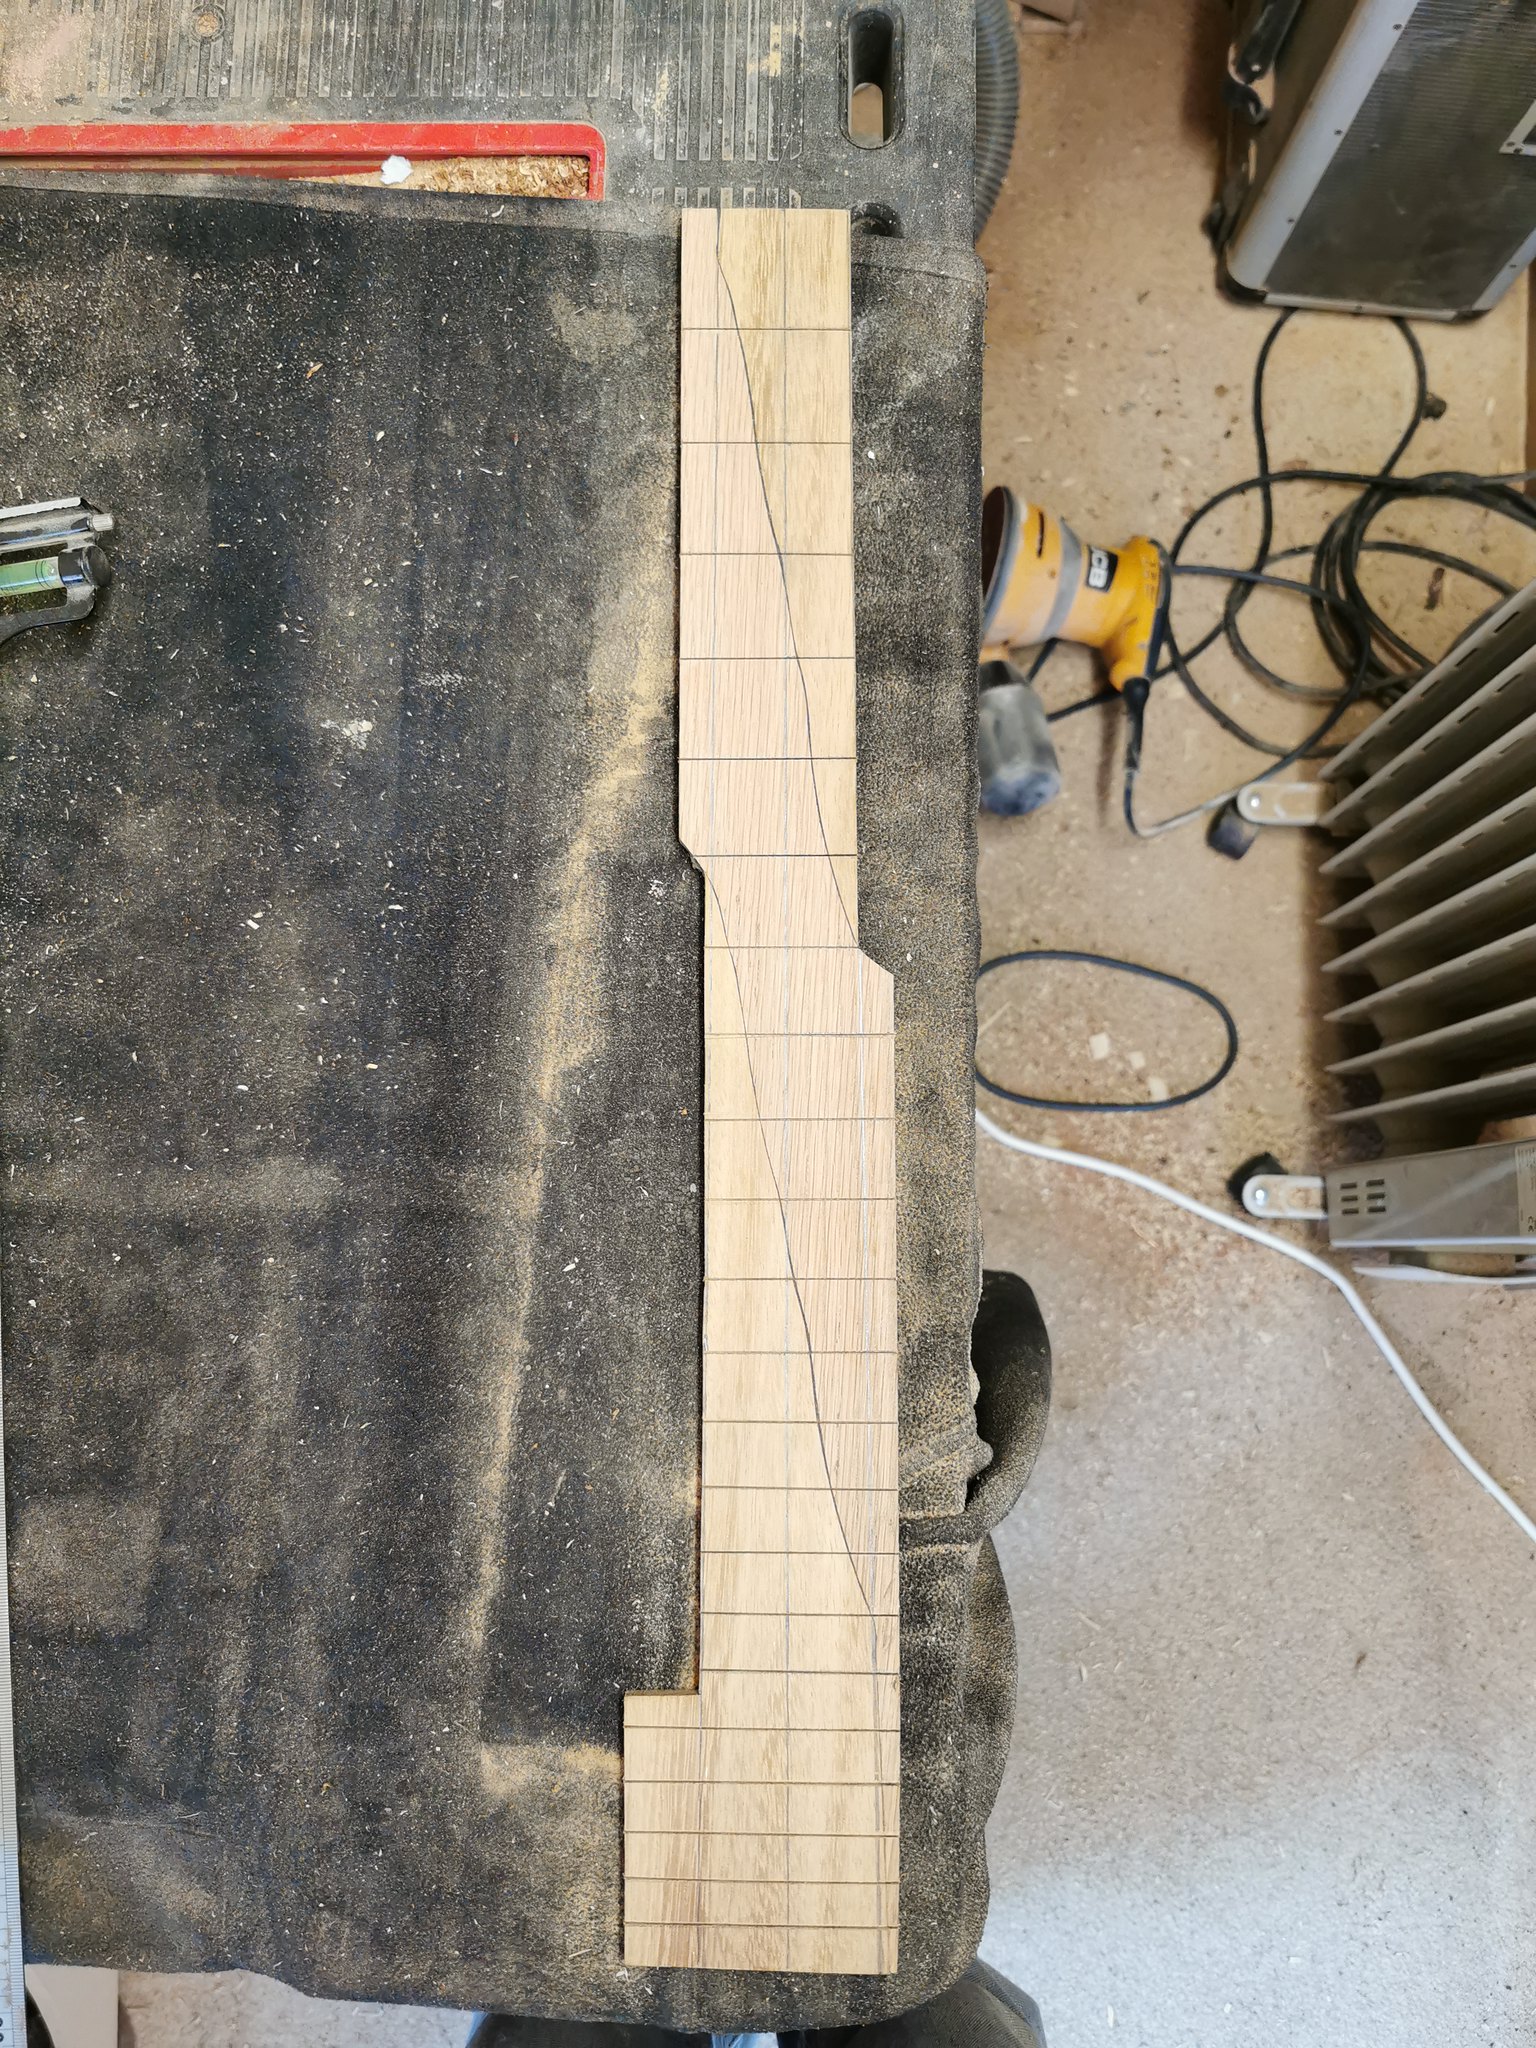
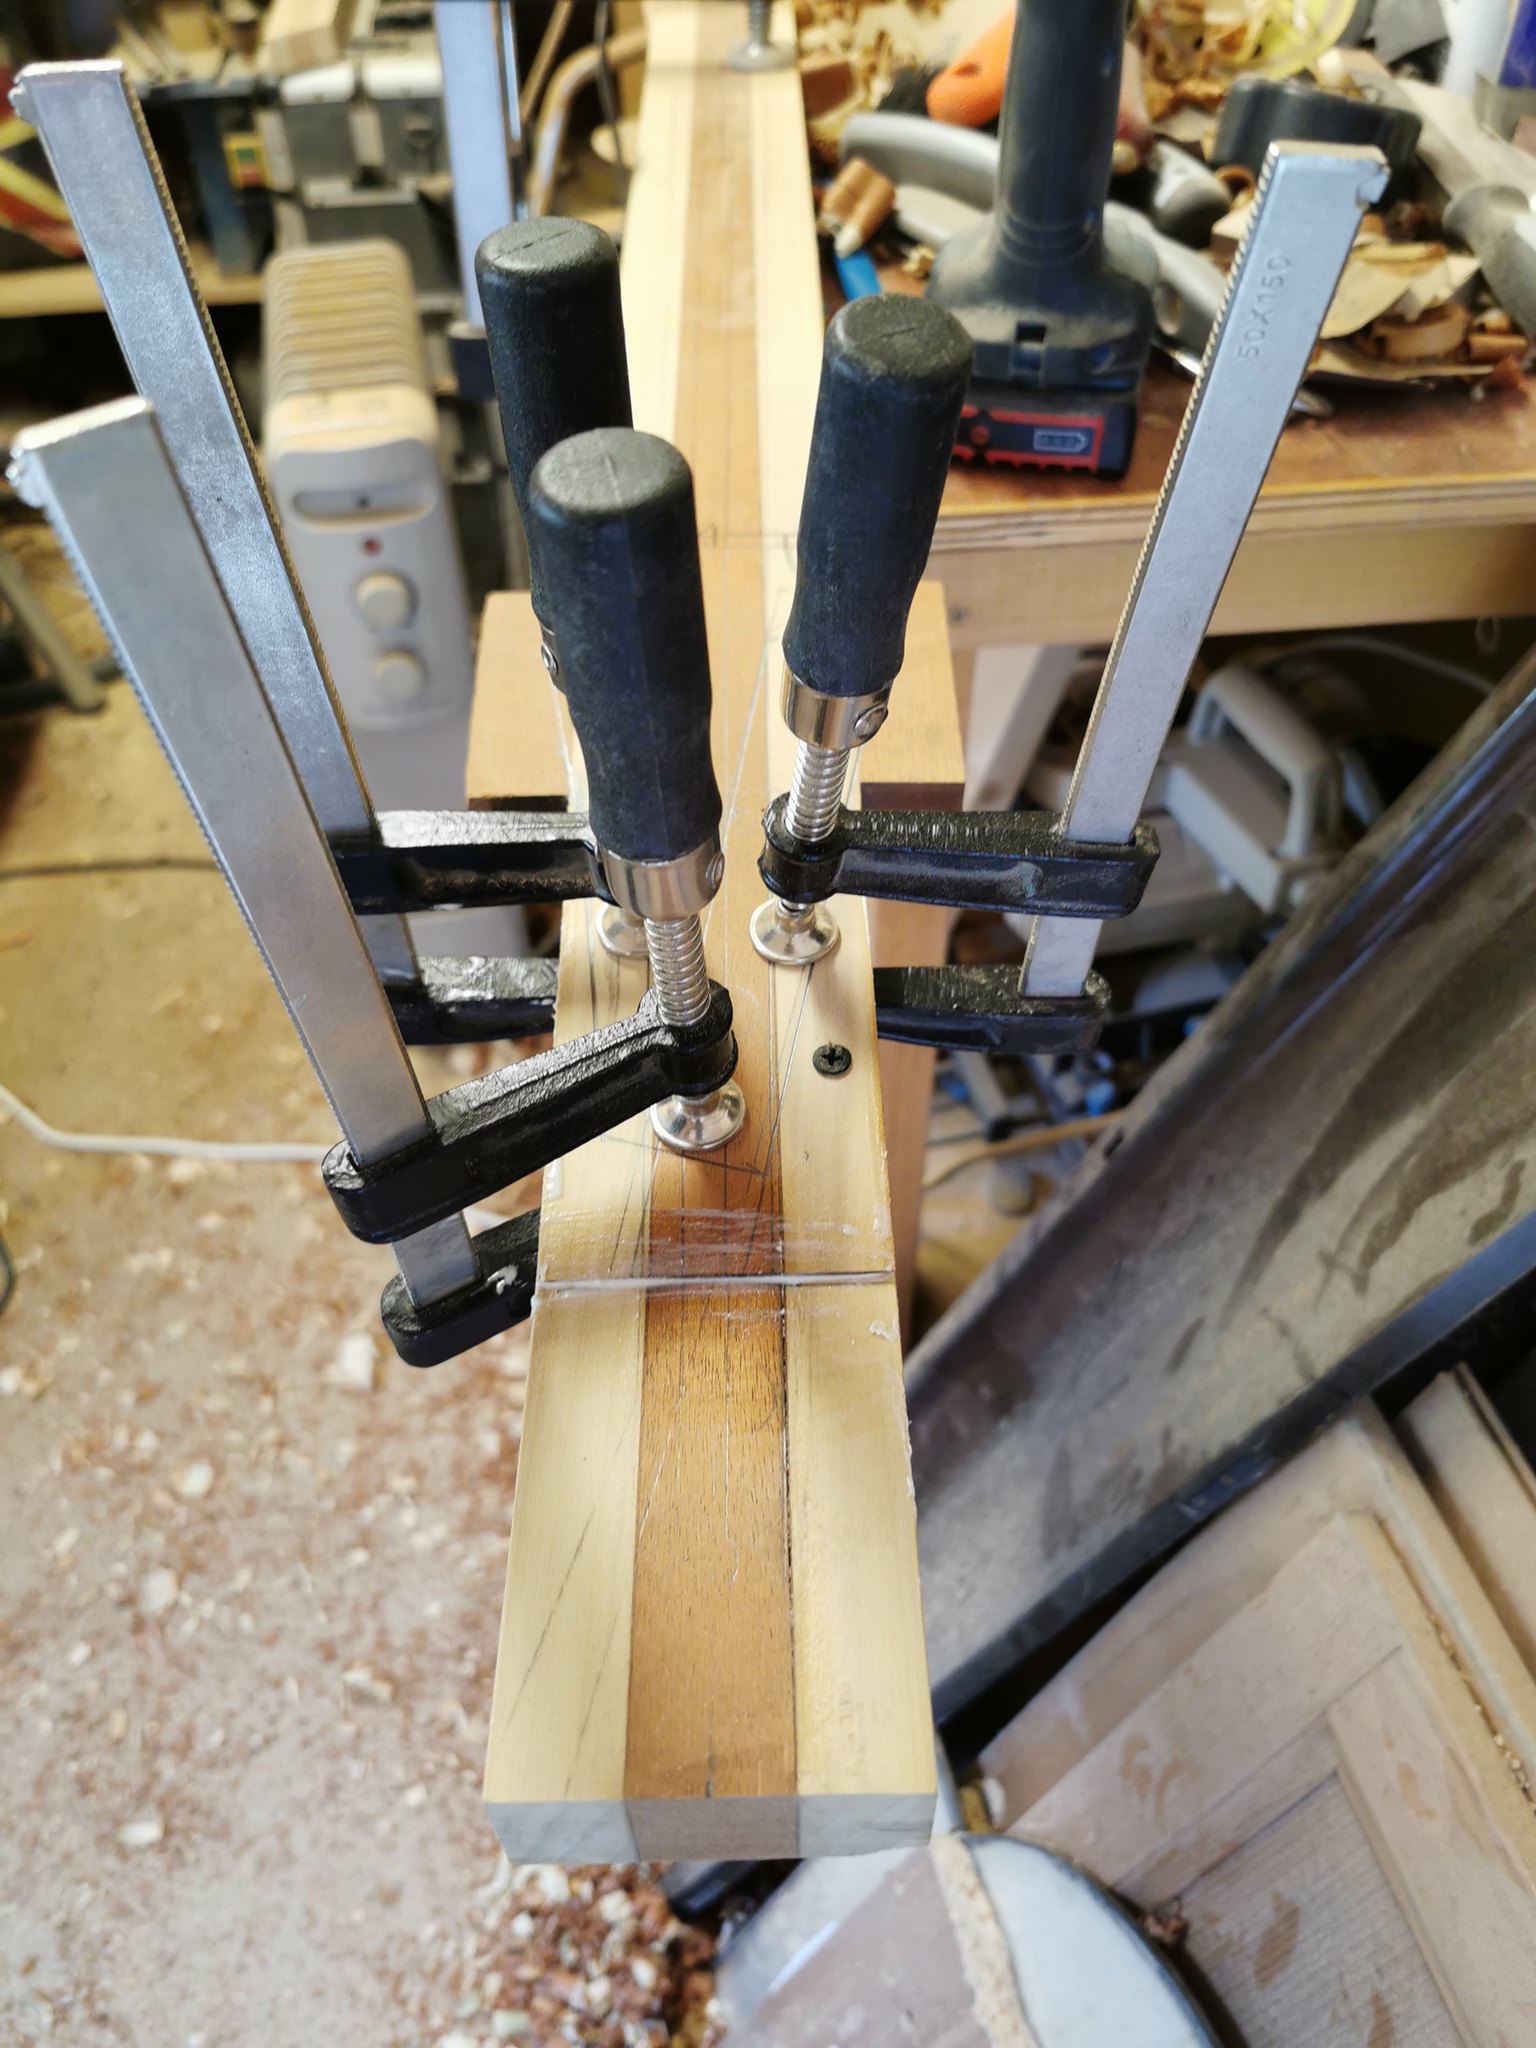
I made sure to keep straight edges along both sections to allow for marking out the fret cuts. Marked out the frets and cut the slots. Still need to straighten out the bottom edge (I keep on looking at it and thinking the fret slots are wonky, which they aren't!!)
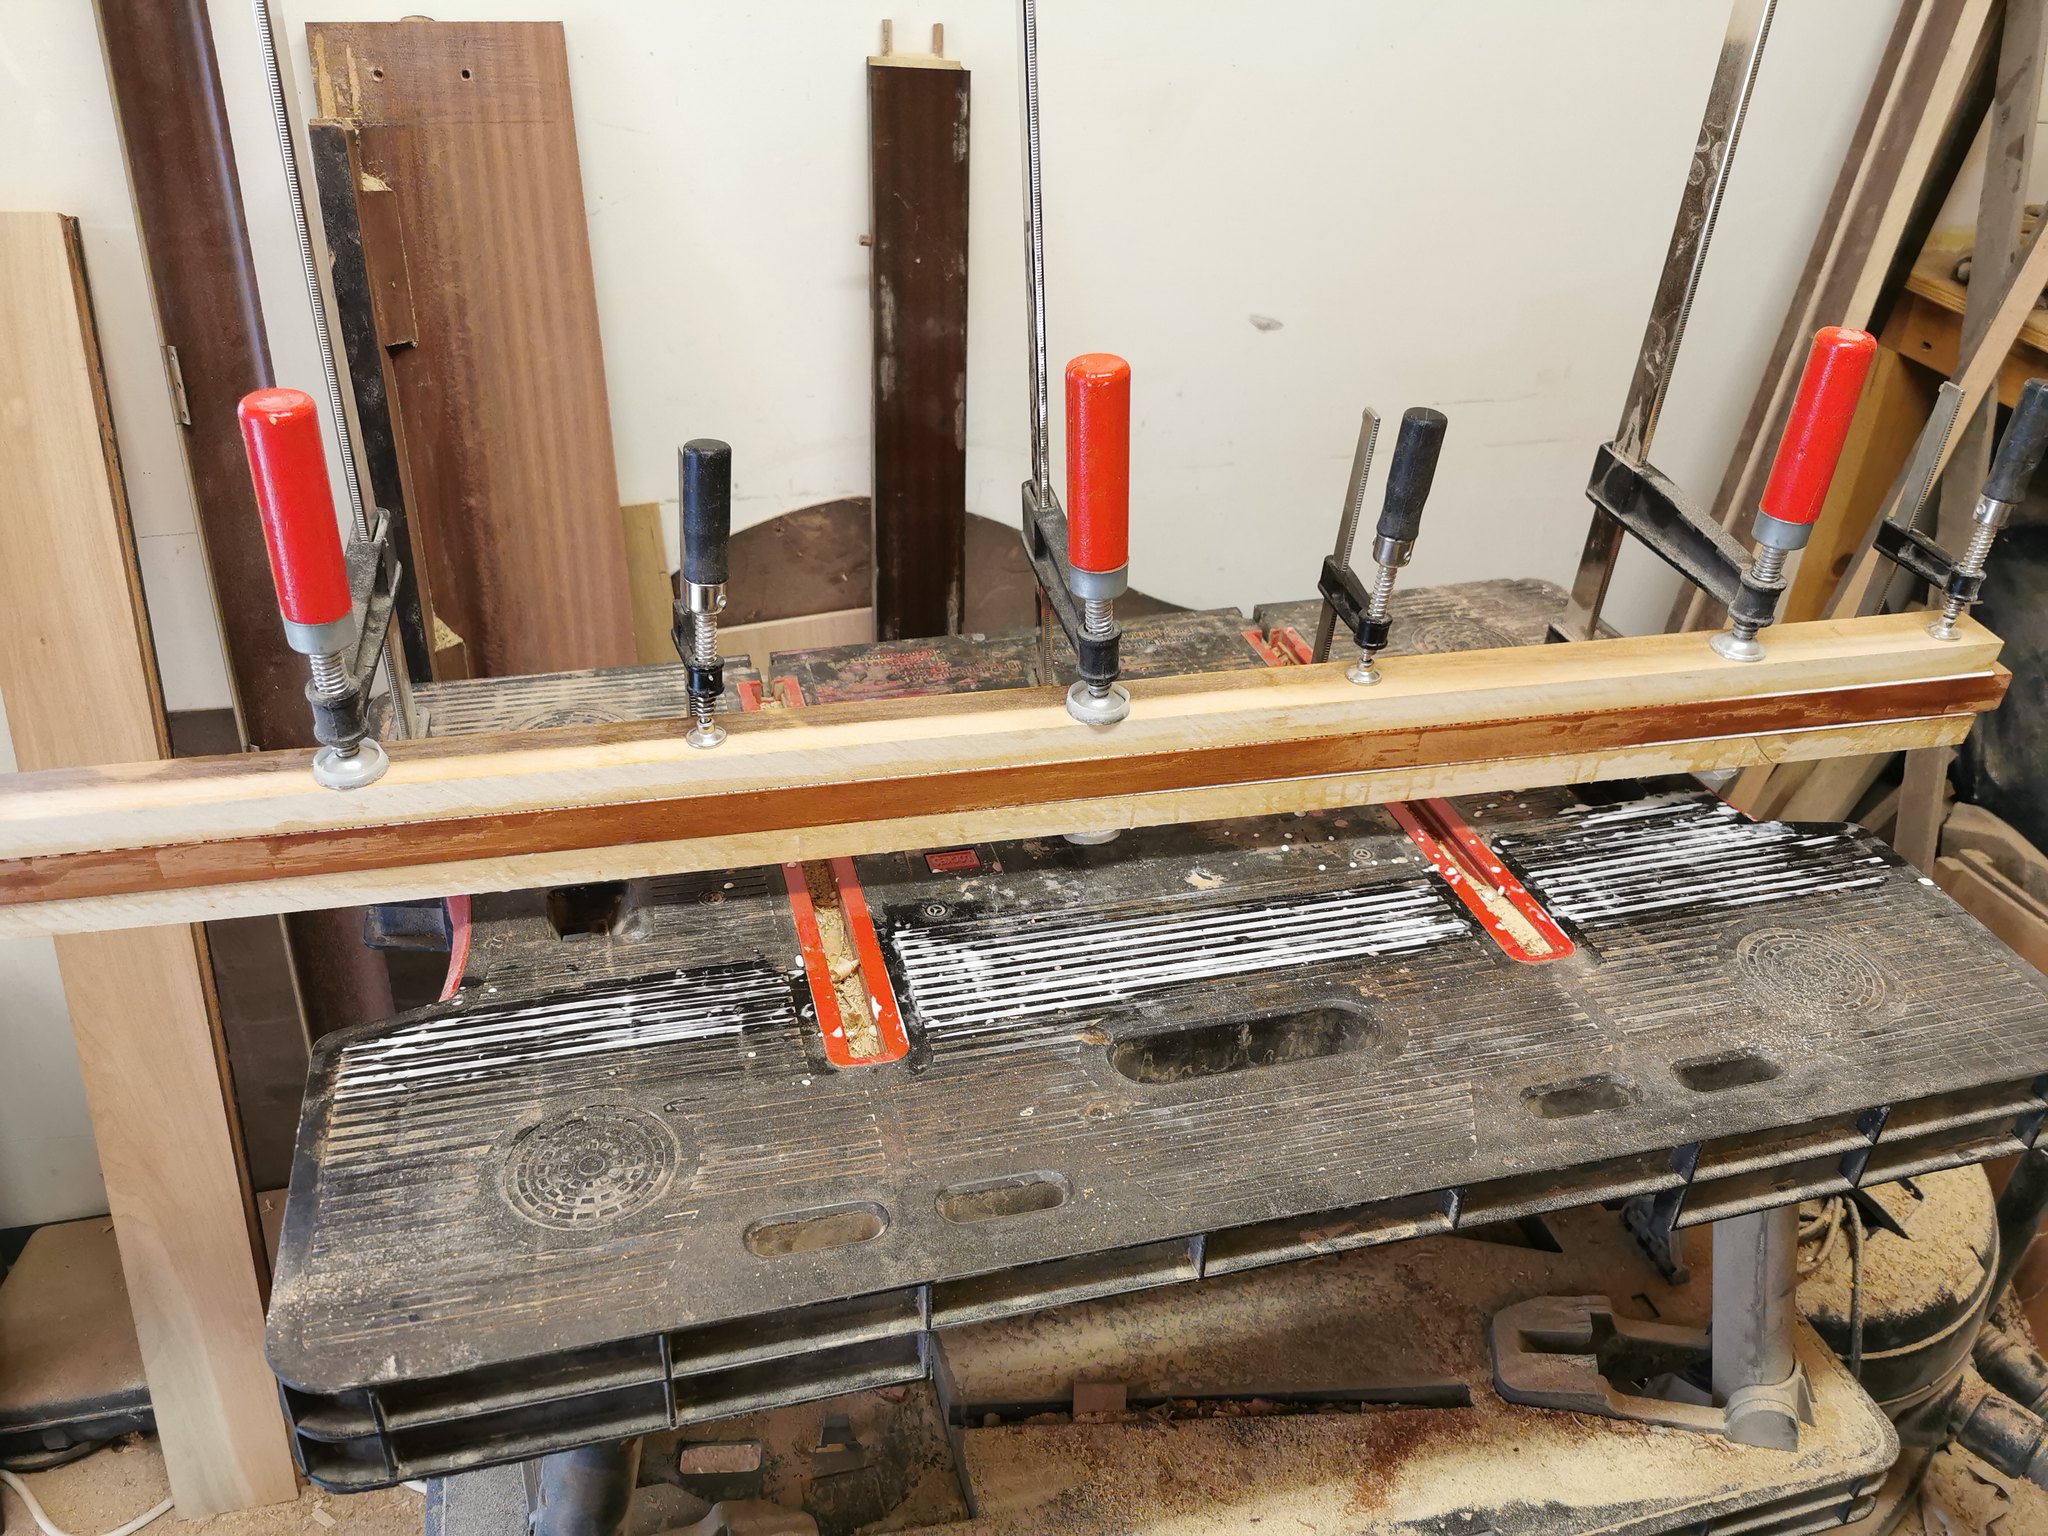
Next up was the neck. Going with a Through neck using mahogany and poplar (both from the piano)
Cut to length and thickness, then glued.
And after it had dried, planed it flat on both sides, glued on some extra mahogany for the headstock width and then got on with cutting the headstock angle at 9 degrees.


Then glued on the offcut to the reverse side to give the headstock enough thickness along the length.

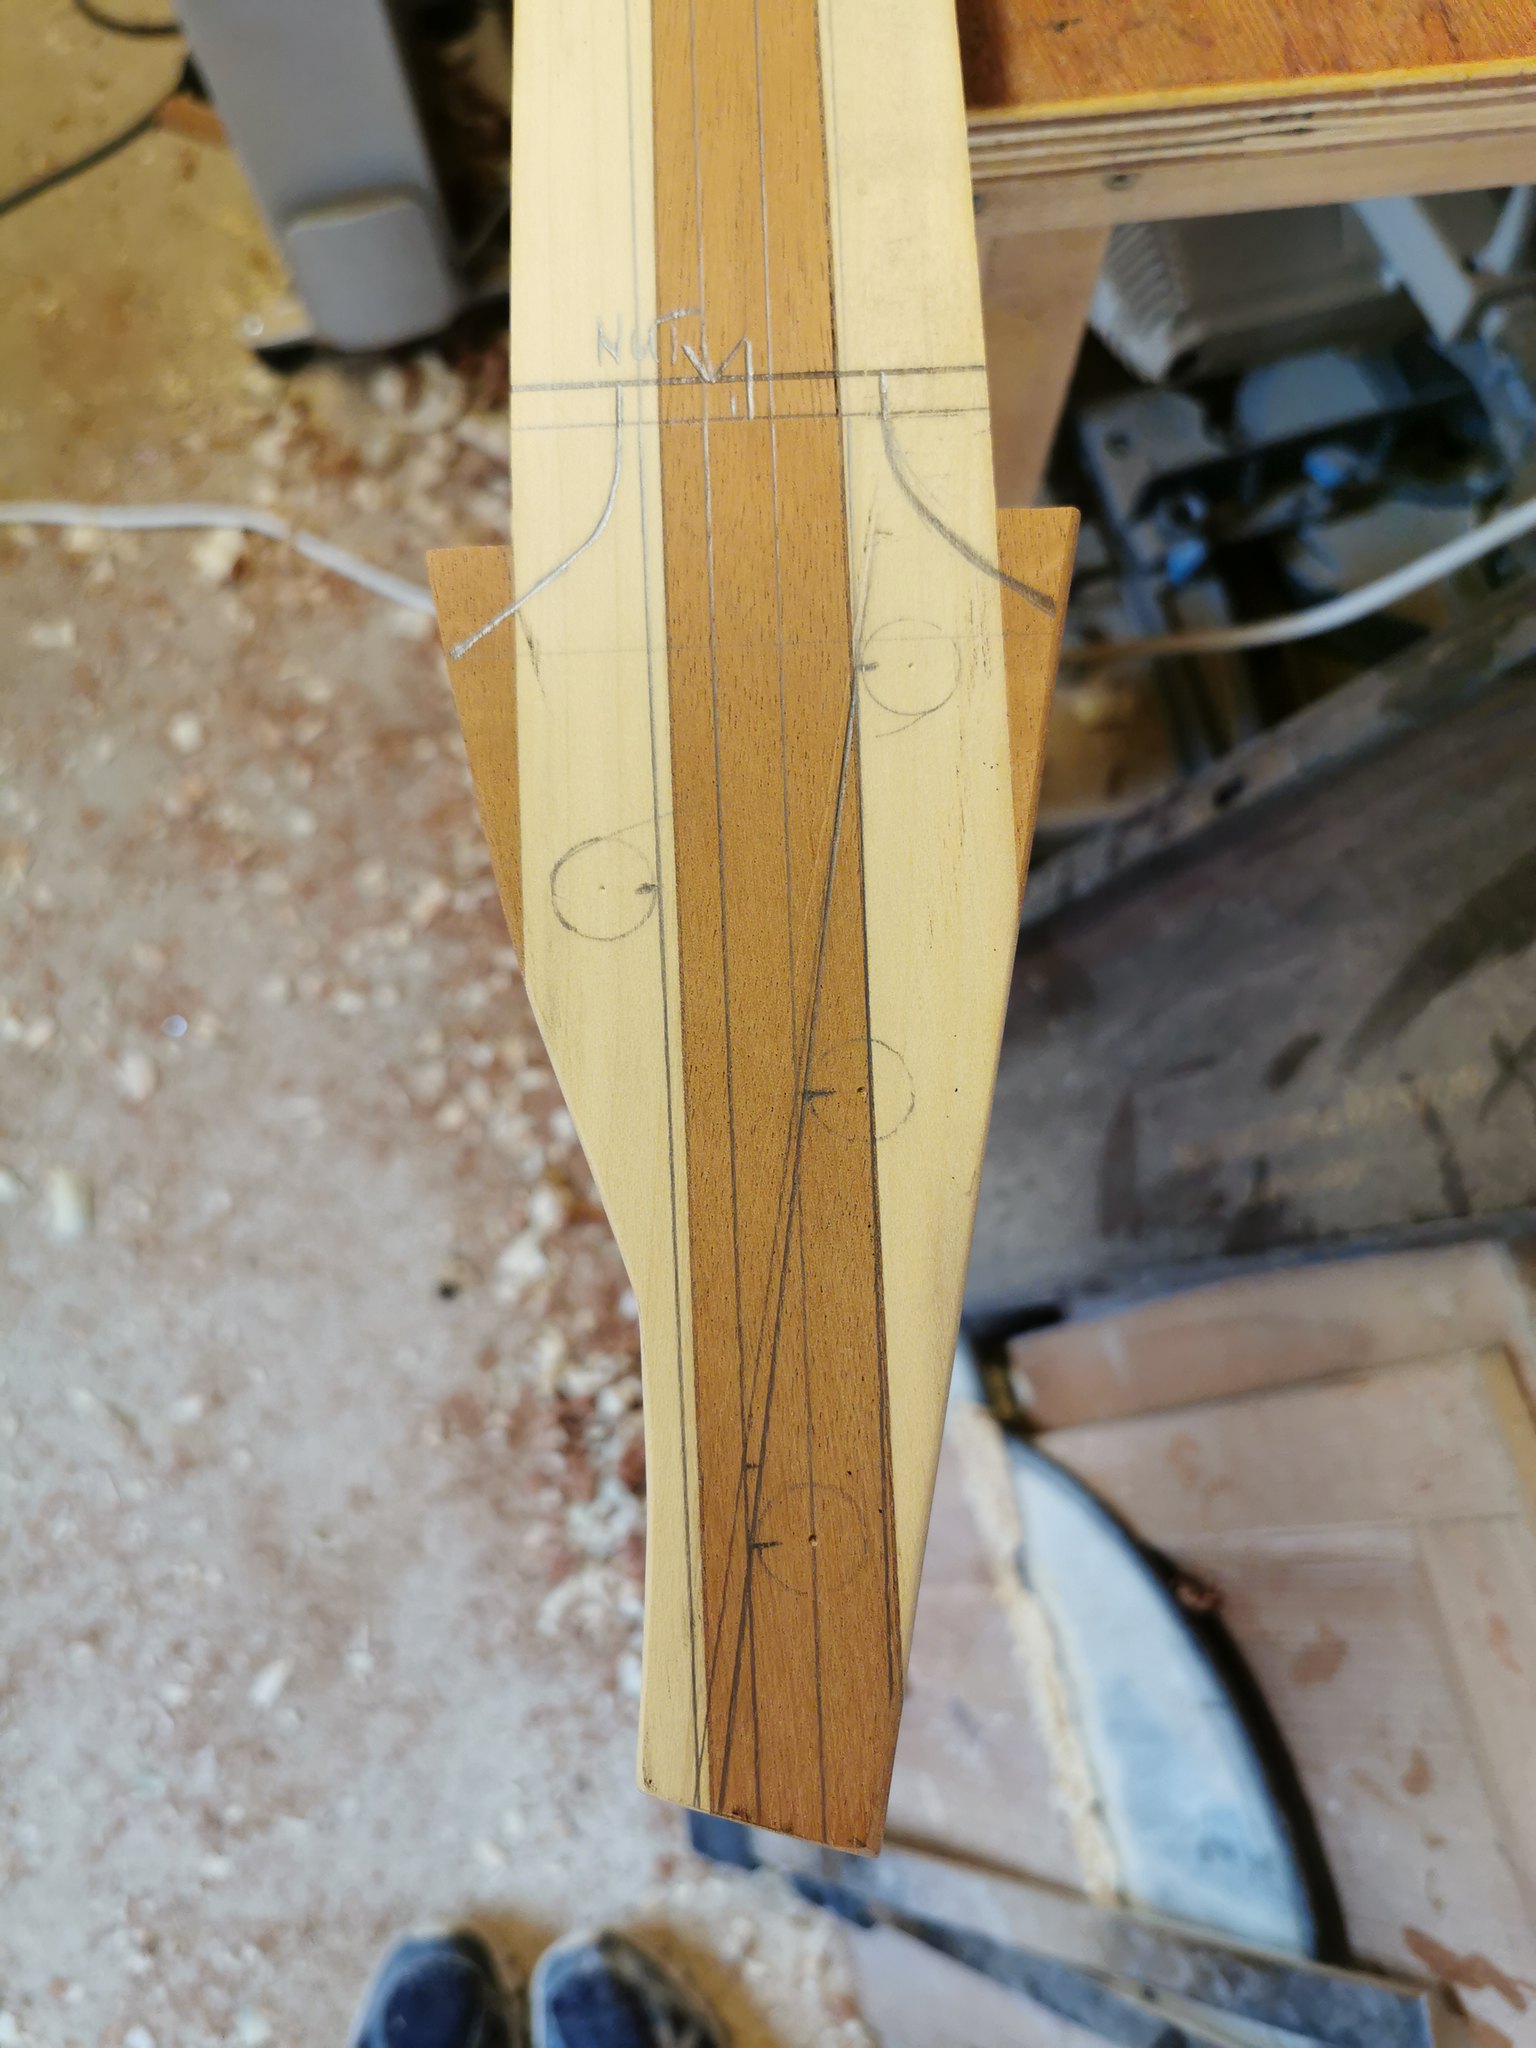
Then roughly marked out the string and machine head locations so that I could get a rough headstock shape cut. (will wait until I have the machine heads to do the locations properly)
And last thing was testing how it would look with a Mockingbird body (hadn't decided on body shape at this point, but this was to hand from doing Dan's guitar ![]() ).
).

Still needed to work out what wood to use for the body, would depend on what I had in my stock.
 LOL 0
LOL 0 Wow! 0
 Wisdom
 Base theme by DesignModo & ported to Powered by Vanilla by Chris Ireland, modified by the "theFB" team.
Comments
Then checked the truss rod fell in the lines correctly.
And started chiselling out the channel.
And then put the truss rod in place.
Then made a start on cleaning up the fretboard edges and tested it in place.
Have been busy working on the fretboard the past couple of days, so a few updates on progress.
Got the fretboard glued in place and then did the markers.
Then got the radius started using a piece of wood to keep the block central, worked out very well with the laminated wood being the exact size for the centre position of the block.
Next up I cut some 2mm wide strips of mahogany and glued them to the outside edge, leaving an overhang for the nut.
And then put the nut in place to measure for the end piece.
Cut the end piece and glued it in place.
And then tested the nut in place again. This way the nut doesn't need to be glued in place and can easily be raised if needed with pieces of wood underneath. Was considering putting magnets into the bottom of the nut and then I could just use thin pieces of metal to adjust the height if needed, but will see how it goes.
I then sanded the radius up to 1000 grit (highest I had until my delivery arrived later that day)
Then took it outside in the sunshine so I could see how well the wood grain shows up.
Need to recut the fret slots as they are no longer deep enough after doing the radius. Then when the delivery gets here I will continue sanding up through the grades and hopefully get it all polished up ready for trimming the neck edges to size so I can get the frets in.
Next up was taking the excess wood from the edges with a Shinto rasp.
Started getting some shape into the headstock, needs a bit more work yet, but it is beginning to look more like the final shape.
Tried it in place with the Mockingbird template again, it is looking like I will go with this shape body, the neck goes really well with the shape and the wife really likes the one I have made for Dan.
Considering going with a mahogany body if I have enough left in my stockpile, need to have a dig around and see what I can find.
Went through my wood stocks and didn't have enough mahogany for anything close to the sizes needed, so called round to my dads house and raided his wood stock. Found some pieces that would be big enough for the shape with a bit of work, but not thick enough, so brought them home and set to work on another way of doing it.
Had a big enough piece for the lower section, but had to cut a couple of pieces to size for the upper section. After squaring up the edges and joining the pieces for the upper section (hopefully the join will not be too obvious afterwards), I cut them to their basic shapes, leaving clamping points and then set about halving them... times like these I would appreciate access to a band saw.")
Upper section first.
I then glued and clamped the first piece of this onto a piece of poplar and then cut round the shape. Didn't take any pics during this, was too busy and forgot.
Then got on with halving the lower section.
Need to glue and cut the other sections with the poplar yet, but this is the progress so far.
Next up will be to glue the bottom piece on, square up the side section for joining to the neck and level it off top and bottom, then do it all again with the lower section.
But the poplar sandwich is looking good so far to me.
Hopefully the green poplar showing through with the bevels afterwards should be a nice feature against the mahogany.
After gluing up the bottom piece of the lower section I moved on to doing the control cavity.
First cut the cover to shape (straight lines on this one to make things a bit easier for me)
After drawing round it cut the cavity to size within the area.
Then scored the lines with a Stanley knife and followed up with the chisel around the lines.
And then set to work removing the wood down to the poplar.
Cover in place with a bit of sanding to level it off.
And then setup a sanding area to level off the whole piece.
Chiselled out the cable access for the pickups.
Glued the top piece in place and then checked how much needs taking off. (lots of squeeze out that is taking a while to dry)
Cavity after gluing,
And then glued the upper section pieces together and checked the height.
A few mm to be taken off top and bottom, shouldn't take a lot.
Need to square up the edges, but happy with how it is coming along.
Will start shaping the neck profile, headstock and volute before gluing on the wings.
When it is getting close to the line I move on to a radius block to level it off and use a piece of wood clamped in the right position to keep it central down the length.
Still got plenty more sanding to do to level it off and need to work on the transitions between the heel and neck, as well as the volute and neck. The headstock still needs thinning out a bit as well, but I will do that once the volute has taken shape fully.
I have been working on a few different things and jumped around between them as I went, so in no particular order...
The headstock shape is near enough finished.
And it is close to thickness all around.
The volute is close to finished.
Just need to take a bit more off the underside on the right.
And the neck profile is part way there. Will need a bit more work around the heel once the body is on and then I will finish off the profile when doing the transition.
Should be able to get on with cleaning up the fretboard and getting the frets in next. Need to go pickup some fret wire, just need to decide on size.
Couldn't get any fret wire until Monday morning, thinking of going for medium jumbo stainless unless anyone says anything different for a bass...
Got on with buffing the fretboard ready for doing the frets.
Then squared up the edges of the body sections so they are ready for attaching after doing the frets.
Did some more sanding on the neck profile, back of the headstock and volute. The join on the back of the headstock disappears when cleaned with Isopropyl and shows again when dry, so hopefully it shouldn't be too visible under the finish (not sure what finish yet!)
The volute is nearly equal on both sides, just a small amount to remove still on the right underside. Happy with the transition from the neck to volute now.
The volute has a secondary function, which I will show later.")
Wicked some CA into the ends before snipping to ensure no movement. You can see how low profile they are from this shot, 0.9mm high before fret levelling and crowning.
Snipped the edges as close to the fretboard as possible.
After snipping both sides taped up the fretboard and marked the tops with a sharpie before levelling and crowning.
And after clean up and buffing/polishing removed the tape, very pleased with the result.
Can get on with attaching the body wings next.
Body glue up day...
First masked off the lower end of the fretboard to prevent any squeeze out going on it and then put some pins into the wings and drilled locator holes into the the through neck.
Then glued and clamped the first piece.
Once it had dried I repeated the process with the second piece.
When it was ready it was out of the clamps and on with marking out the rough shape.
And then onto the carving stage.
This is how far I got before close of play today.
Taking shape nicely.
And then the horns.
Next up was flattening the back. Still needs plenty more, but it is close to levelled off.
And then got started on levelling the front, before the wife said it was time to down tools.
Not quite level yet, but getting there. The join in the top wing is bugging me at the moment, had managed to do quite a good job with grain matching when it was joined, but after sanding the grain is looking different on both pieces. Hopefully it will look better again after it is fully level and has been sanded up through the grades.
In natural light it looks much better. I can probably live with it, depending on how it is with a finish on top. I will stop letting it bug me for now.
Thought I would show off the volutes other function.
Should be difficult to drop if handing it over to someone.
Then on with the Shinto rasp and files.
Rough shaping done on the top bevels, lots of sanding to be done and it should slowly reveal more of the green around the edges from above. will move onto the back next to get the bevels in and the neck transition can then be done.
Then on with the carving.
Will do the heel next and blend it fully into the neck profile.