Howdy, Stranger!
It looks like you're new here. If you want to get involved, click one of these buttons!
Categories
- 244.1K All Categories
- 22 >> Start Here <<
- 12 New Members
- 8 FAQs
- 87.5K Gear
- 39.9K Guitar
- 3.5K Acoustics
- 1.3K Bass
- 14.8K Amps
- 17.4K FX
- 303 Digital & Modelling
- 769 Other Instruments
- 8.3K Making & Modding
- 426 Gear Reviews
- 107 Guitar Reviews
- 74 Amp Reviews
- 119 FX Reviews
- 87 Other Reviews
- 751 Made in the UK
- 977 Theory
- 1.9K Technique
- 2.2K Live
- 3.2K Studio & Recording
- 2.1K Making Music
- 226 Events
- 15 Guitar Show 2018
- 846 Plug My Stuff
- 106.3K Classifieds
- 41.5K Guitars £
- 2.9K Acoustics £
- 142 LH Guitars £
- 908 Basses £
- 10.7K Parts £
- 18.5K Amps £
- 34.4K FX £
- 2.8K Studio & Rec £
- 6.2K Misc £
- 466 Personnel
- 55.3K Chat
- 36.9K Off Topic
- 1.1K Tributes
- 6.6K Music
In this Discussion
Become a Subscriber!
Subscribe to our Patreon, and get image uploads with no ads on the site!
In time for the Q4 Challenge?
 TTony
Frets: 27978
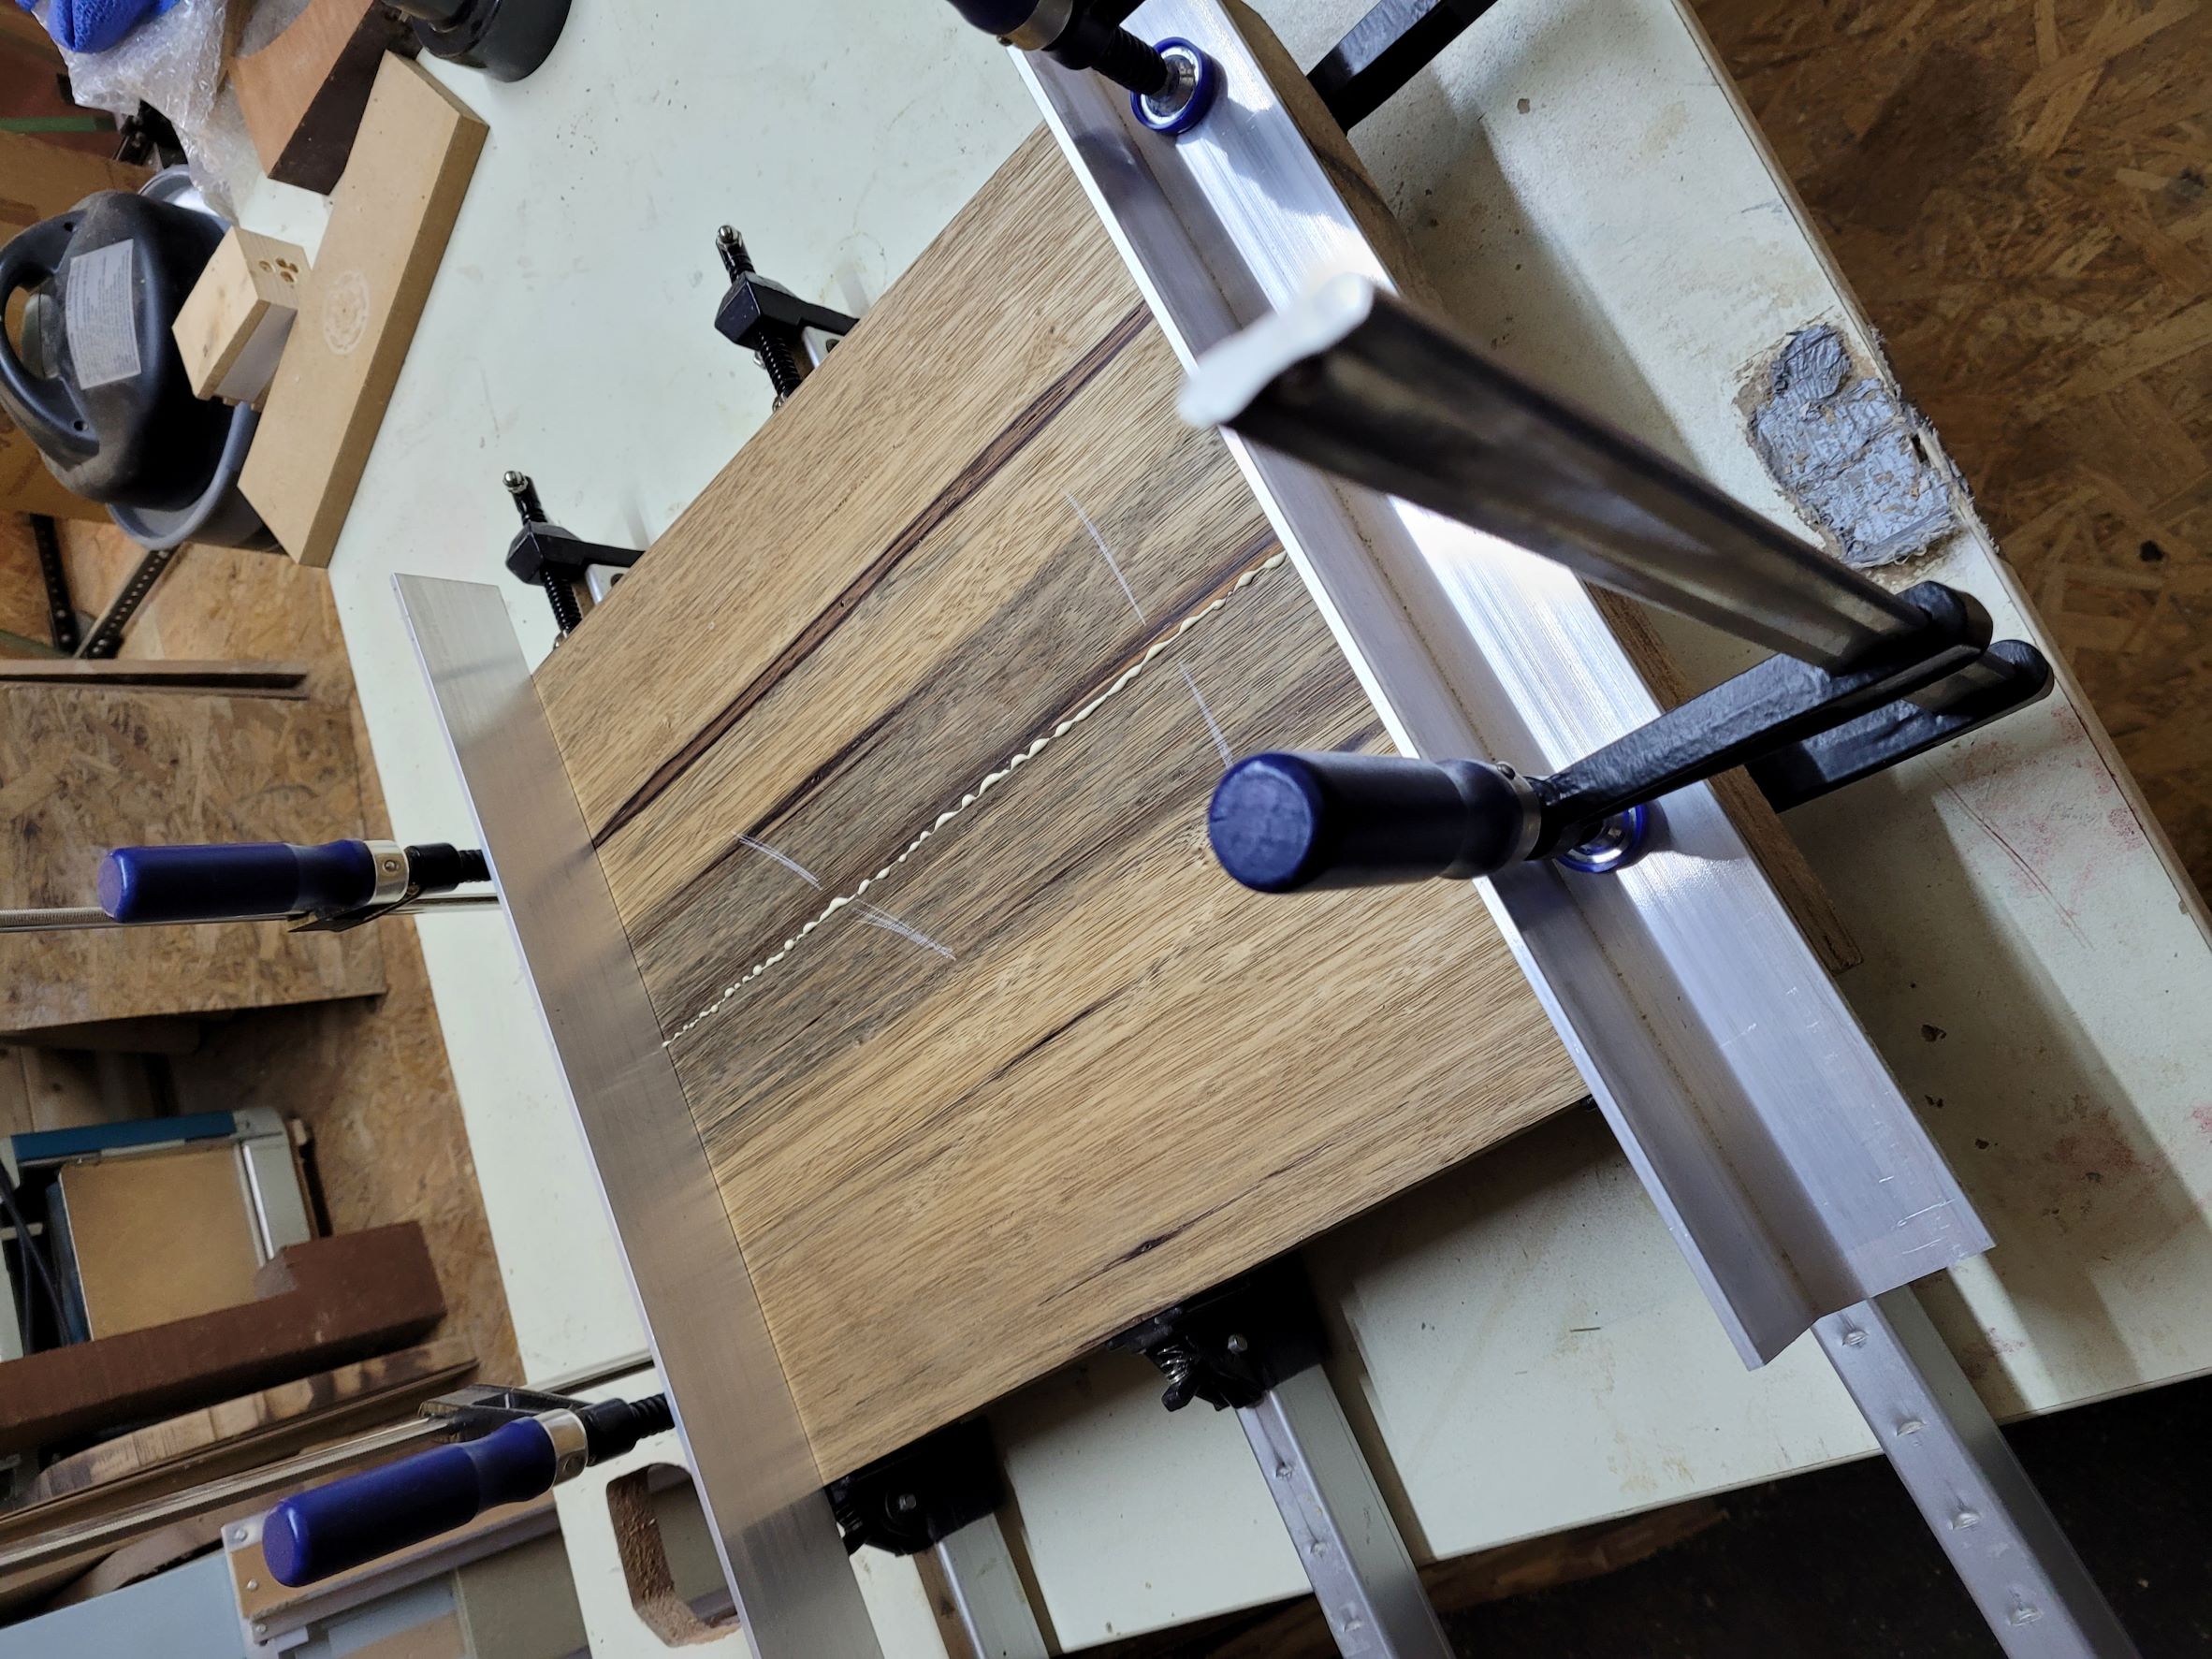
With the other guitar hardening off in the finishing shop (aka "wetroom", apparently), thought I'd try to squeeze another in before the end of the Q4 challenge.
Here's some wood

I've got a set of Tele pickups from Mr Oil City which are looking for a home, and an Ebony Tele neck from Mr GSP which is looking for a body.
'Cept I'm not a great fan of the slab-sided Tele body shape, so the vague notion is to tweak the shape a bit and add some top carving.
Finish will be clear (the Liberon French Polish again) because I bought wood I liked to the look of! But I might gold grain fill it first.
Here's some wood
I've got a set of Tele pickups from Mr Oil City which are looking for a home, and an Ebony Tele neck from Mr GSP which is looking for a body.
'Cept I'm not a great fan of the slab-sided Tele body shape, so the vague notion is to tweak the shape a bit and add some top carving.
Finish will be clear (the Liberon French Polish again) because I bought wood I liked to the look of! But I might gold grain fill it first.
Having trouble posting images here? This might help.
0 LOL 0
LOL 0 Wow! 2
 Wisdom
 LOL 0
LOL 0 Wow! 2
 Wisdom
 Base theme by DesignModo & ported to Powered by Vanilla by Chris Ireland, modified by the "theFB" team.

Comments
Something like this ...
Need to work out why the carving on the lower horn isn't quite working, and move the neck mounting cavity and screw holes into the body a bit further.
Thought I'd rear mount the p'ups, hence the small slots for them.
In theory, I should be able to put a piece of timber on the CNC machine and just press GO.
I can either put a few more hours into that, or get the sandpaper out afterwards!
I don’t know what your using to generate your model but is there an option to set the path around the vertical side say 6mm down from the top face (or whatever distance you want) and use a variable radius? That way it ‘should’ all blend in there may also be a ‘smooth’ option which does what it’s says!
I'd originally used an "auto-close" for an open vector where I'd shaped the carve. Deleted that section and added some more curves to join the open vector manually, and the sticky-out bit has gone.
The design side is an interesting challenge, but I fear I could end up spending more time getting to grips with that, than it would take me to build the guitar by hand. I'm not going to be doing a production run, I'm really just trying to get far enough up the learning curve to make life a little easier, rather than making life a lot harder by trying to get to the top of the learning curve!
Can you see what it is yet??
I tweaked the shape of the lower horn before I began. Decided that the original shape was too bulky / bulbous.
The raised section between the carve and the top of the body is a me-mistake. Probably two me-mistakes, one followed by another. I think I left a small gap above the material (mistake #1) after I changed some dimensions just before cutting. Hence the machine was surfacing off the excess. But I didn't-trust-the-machine, so (mistake #2) I stopped that job when I thought it would be cutting into the carve area. With hindisight, if I'd left it for another 5mins, it would probably have all ended happily.
No matter, that's why I used MDF instead of timber!
A few tweaks to the cutting paths/cutters will reduce the time by a good few minutes.
Yes, the pickup slots are deliberately that shape/size - pickups will be mounted from inside (which will be cavity-ed, also by the machine).
I guess I *could* have done everything with one cutter, but one small enough to do the tiny holes would have taken a *very* long time to do the bulk removal.
Also, different cutters are optimised for different types of cutting. Getting a smooth carved finish from a cutter designed to “drill” holes would be trickier.
So I group the tasks to do everything using cutter 1, then everything using cutter 2, then (etc). It only takes maybe 5 mins to power down the cutter, change the bit, reset the zero point (depth) and restart the cutter.
I'd never used one until a year or so ago. The CNC machine part is quite simple - essentially just stick a cutter in a router and press GO.
The trickier part is the CAD software, designing what you want the CNC to cut. Once you've designed it, and defined the type of cut you want the CNC to make (and told it what sort of cutter you're using), the software outputs a "toolpath" which is just a series of X/Y/Z co-ordinates, telling to the CNC router to go to X/Y and cut Z deep. There can be thousands of lines of X/YZ co-ords to cut even a simple thing.
Cutt the carve on the top and the pickup slots, flipped the sheet over, and then cut the cavities in the rear.
Basically, did a guitar body in ~2hrs with everything cut - neck pocket & screw holes, pickup slots & screw holes, string-thru holes, control knobs, and then some cavities and cavity cover recesses on the rear and finally cut the body shape out.
If I'm feeling brave tomorrow, I'll set it going on the body blank ...
This is an exercise in learning how to use the CNC machine as much as building a guitar. So, first challenge was to see if I could use the CNC to cut both the cavities on the back *and* everything on the front.
Here's the back underway
And the back, all done
It's quite a weighty piece of timber, hence the large control cavity. I'm also going to mount the pickups from the back, hence the cavity for them too.
And finally, string through into a ferrule block. I've part-CNC'd the string holes from the back. The challenge is to see whether I can flip the body over and finish drilling those holes from the front.
Why? Really just a test of accuracy!
(And yes, the string-thru holes match up just about perfectly. The holes are 3.175mm diameter, and I can fit a 2.5mm drill bit through from front to back. Couldn't quite get the 3mm bit through, so I reckon I'm somewhere <0.5mm out. Which I can live with.
The carve.
There are some things that CNC is really useful for.
Accuracy is one. Carving is another. (Cavities, not so much - a router would have been far more efficient).
Starting to cut out the body.
Slight challenge with this in that my CNC doesn't quite have enough "Z" (height) movement to allow me to cut all the way through the blank, so I had to finish the cutout on the bandsaw, and will then tidy it up with a router.
It might just have worked if I'd clamped the body different - right onto the bed of the CNC - but then I'd probably have cut slightly into the bed, which (although it's "sacrifical" MDF) I didn't want to do.
Took about 3 hours all-in. The rear cavities took way too long. I could refine the carve to remove some of the tooling marks and make sanding a bit easier, but I didn't want to "cheat" too much!